Lesson Plan
Day 1
Prior to lesson
Prepare multiple recording sheets for students to use. One with two columns — one labeled “healthy” and one labeled “unhealthy”. Another with a Venn Diagram. Each student will have their own clipboard with their recording sheet.
Ask students to bring in items from home that are associated with healthy and unhealthy habits. Examples include running shoes, shorts, vegetables, fruit, swimsuit, bike helmet, video games, donuts, candy, etc.
Note: You may also want to simply use items from around the room rather than having students bring in their own objects.
Direct Instruction
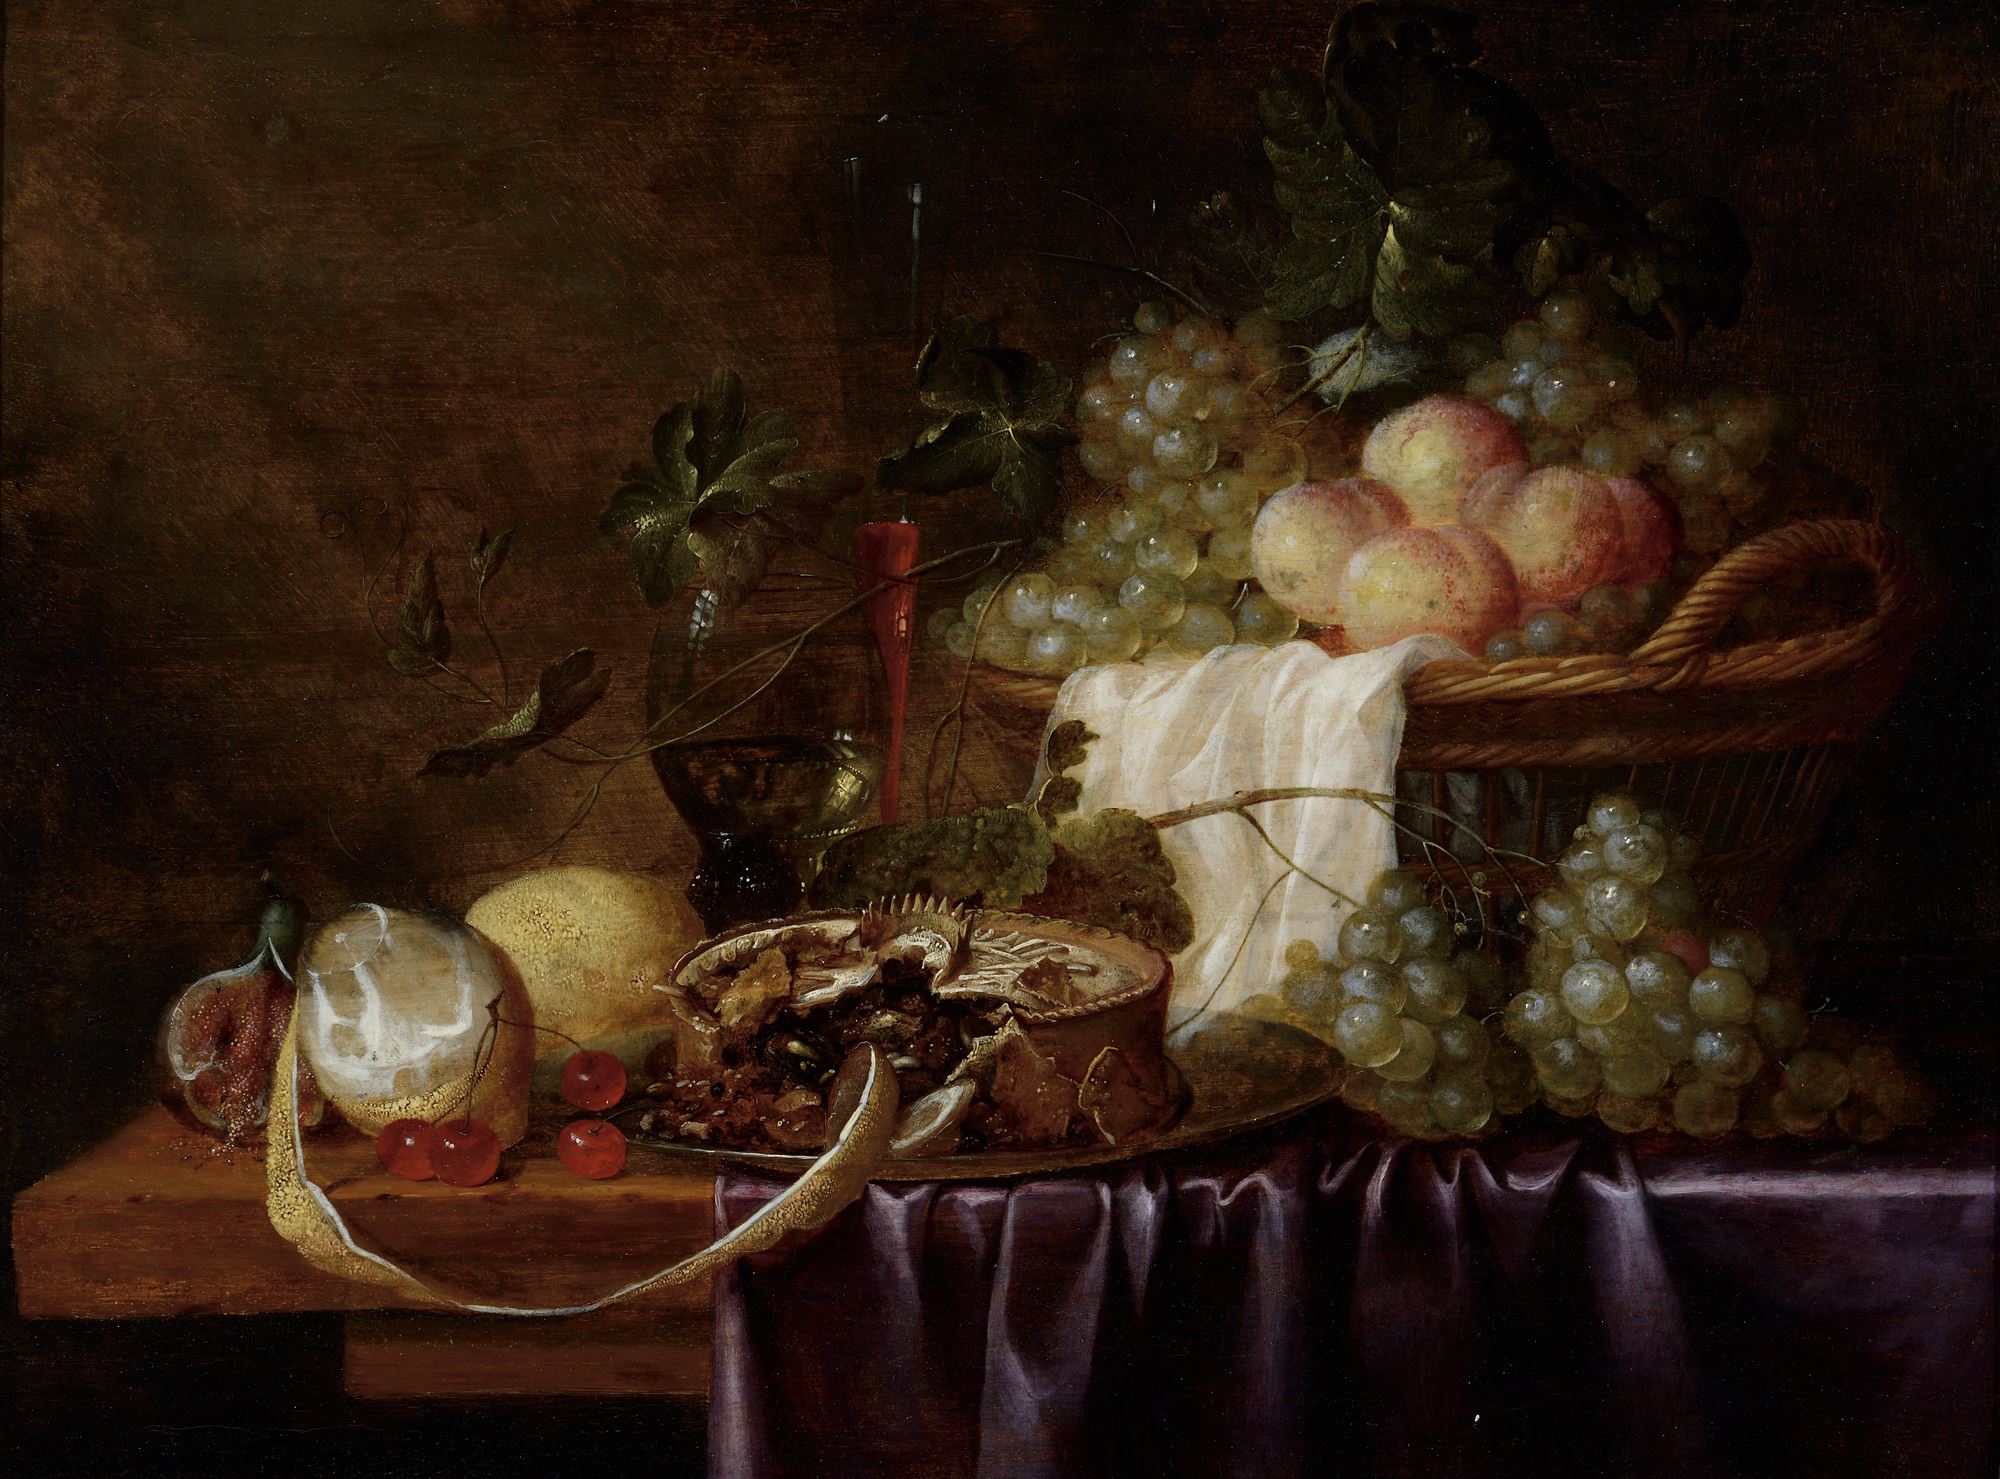
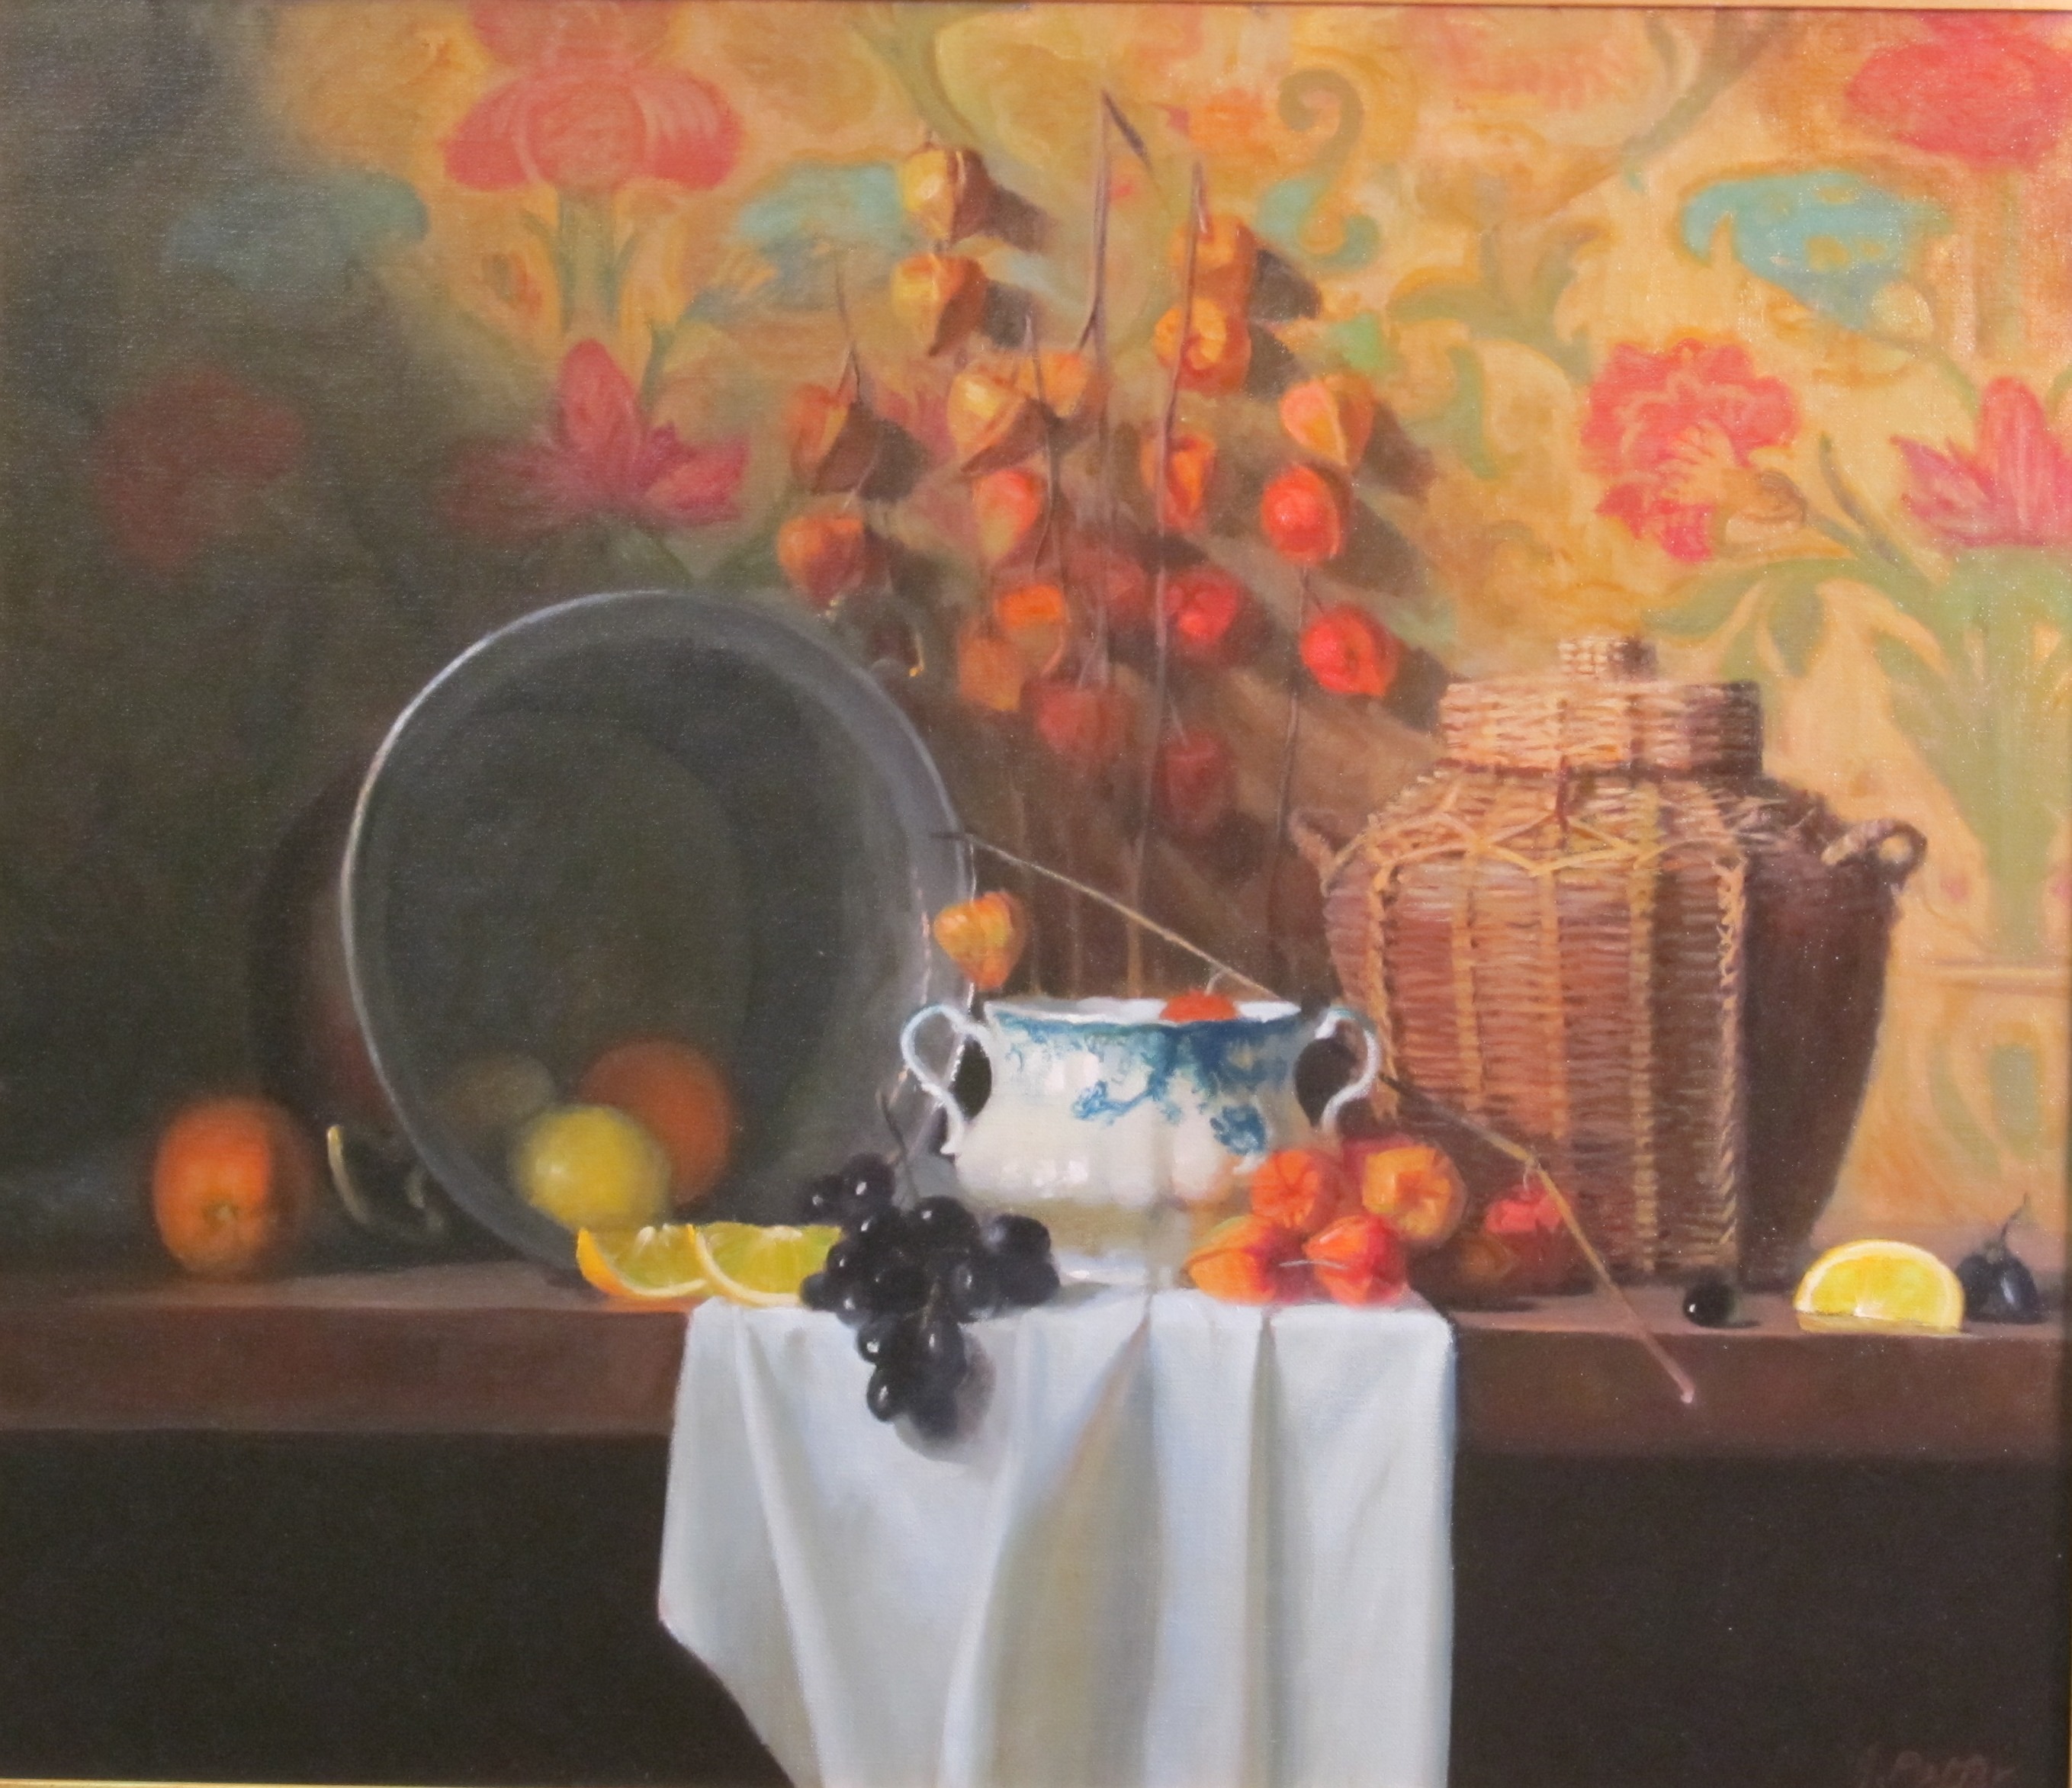
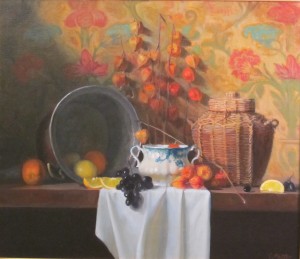
Display Nasher artworks so that they are visible to all students.
Explain that the class will look at and discuss healthy and unhealthy habits in still life and landscape paintings. Remind students that they will need to explain their rationale for why items in the painting may be healthy or unhealthy.
Choose one of the Nasher paintings and model the identification of healthy and unhealthy items in the painting.
Explain to and model for the students that they will write down the items they identify on their recording sheet (either 2 columns or Venn diagram).
Guided Practice/Application
Place several paintings on student tables. Divide students into small groups. Students will look closely at the paintings and record their findings on their sheet. Teacher monitors the process. Students must explain their rational for identification of items.
Students can rotate to other tables and continue adding to their recording sheet.
Closure
As a class, discuss what items the students identified as healthy and unhealthy items. Have students support their opinions with specific details from the paintings. Display their recording sheets.
Day 2
Cover a table with a large sheet of paper. You will also need a large sheet of paper for the background behind your still life.
Anticipatory Set
Review habit identification activity from the previous day.
Direct Instruction
Tell students that, as a class, they are going to create a still life of healthy and unhealthy habits.
Ask students to look specifically at one of the still life paintings. Do they think this still life is of healthy or unhealthy habits? What do they see that makes them say that?
Note that there are items representing healthy and unhealthy habits (fruit, weapons, etc.). Highlight the fact that the artist arranged both items in one painting, whereas the other artists displayed primarily healthy items in their paintings.
Like the still life painting, the still life created by the class will display both healthy and unhealthy habits.
Guided Practice
Students will collect their item from home and move to the table set for the still life.
Allow students to take turns arranging their items on the table. Discuss objects as they are placed into the still life. Once all items are placed, and the class is happy with the arrangement, have students draw the still life creation.
Brainstorm possible titles for the still life. Record the brainstorm ideas.
Closure
Ask students for feedback on still life creation, both positive and negative. Students must be able to back up their response with a solid opinion.
Explain that tomorrow they will write a “how to” essay on creating a still life.
Day 3
Print and display the photograph of the class’ still life.
Anticipatory Set
Review the process of creating a still life as a class. Tell students will write a “how to” essay on creating a still life.
Direct Instruction
Direct student attention to the brainstorm list of titles for our still life. Students will select a title or create their own title. Students write their title on their paper.
Discuss components of “how to” piece of writing/steps in a process. If students have not written a “how to” earlier, you may want to take a day to model the process first.
Review use of: First, then, next, and finally.
Guided Practice
Students write their “how to” piece while teacher monitors and assists as necessary.
Students show teacher their finished product and teacher provides editorial comments as necessary. Students revise. Students can then draw a picture of the still life on their paper.
Closure
Students share their “how to” piece and drawing, either in small groups or with the whole class.