Lesson Plan
Day 1
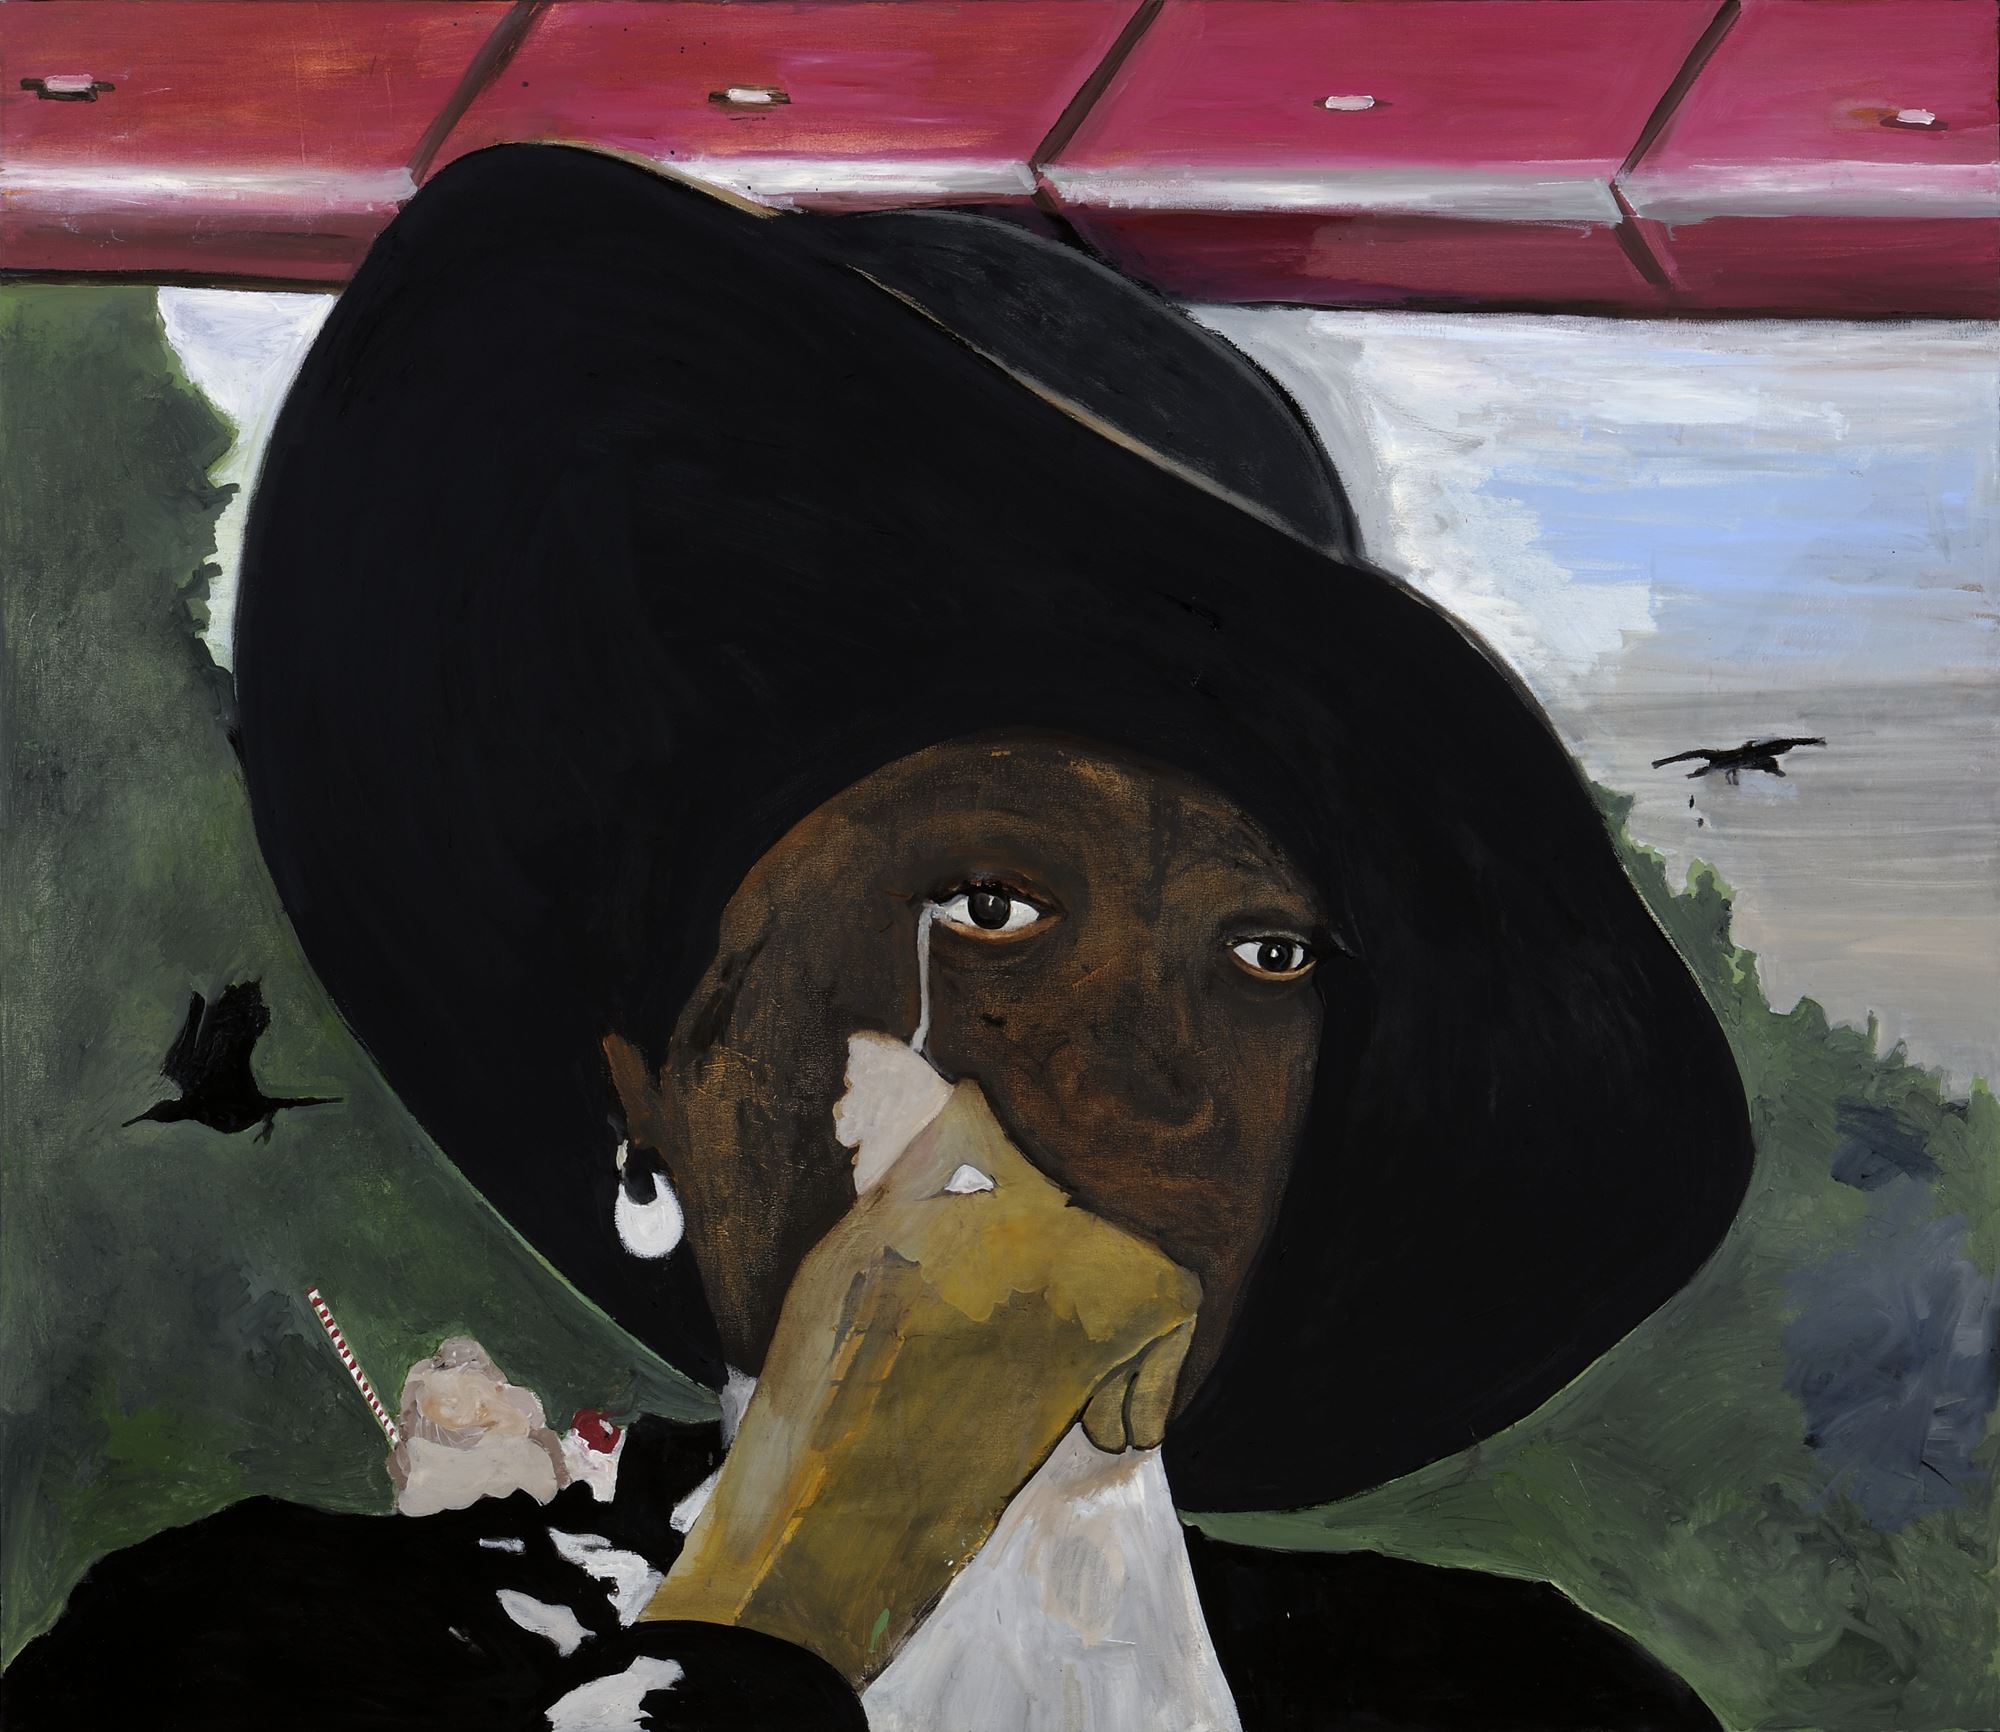
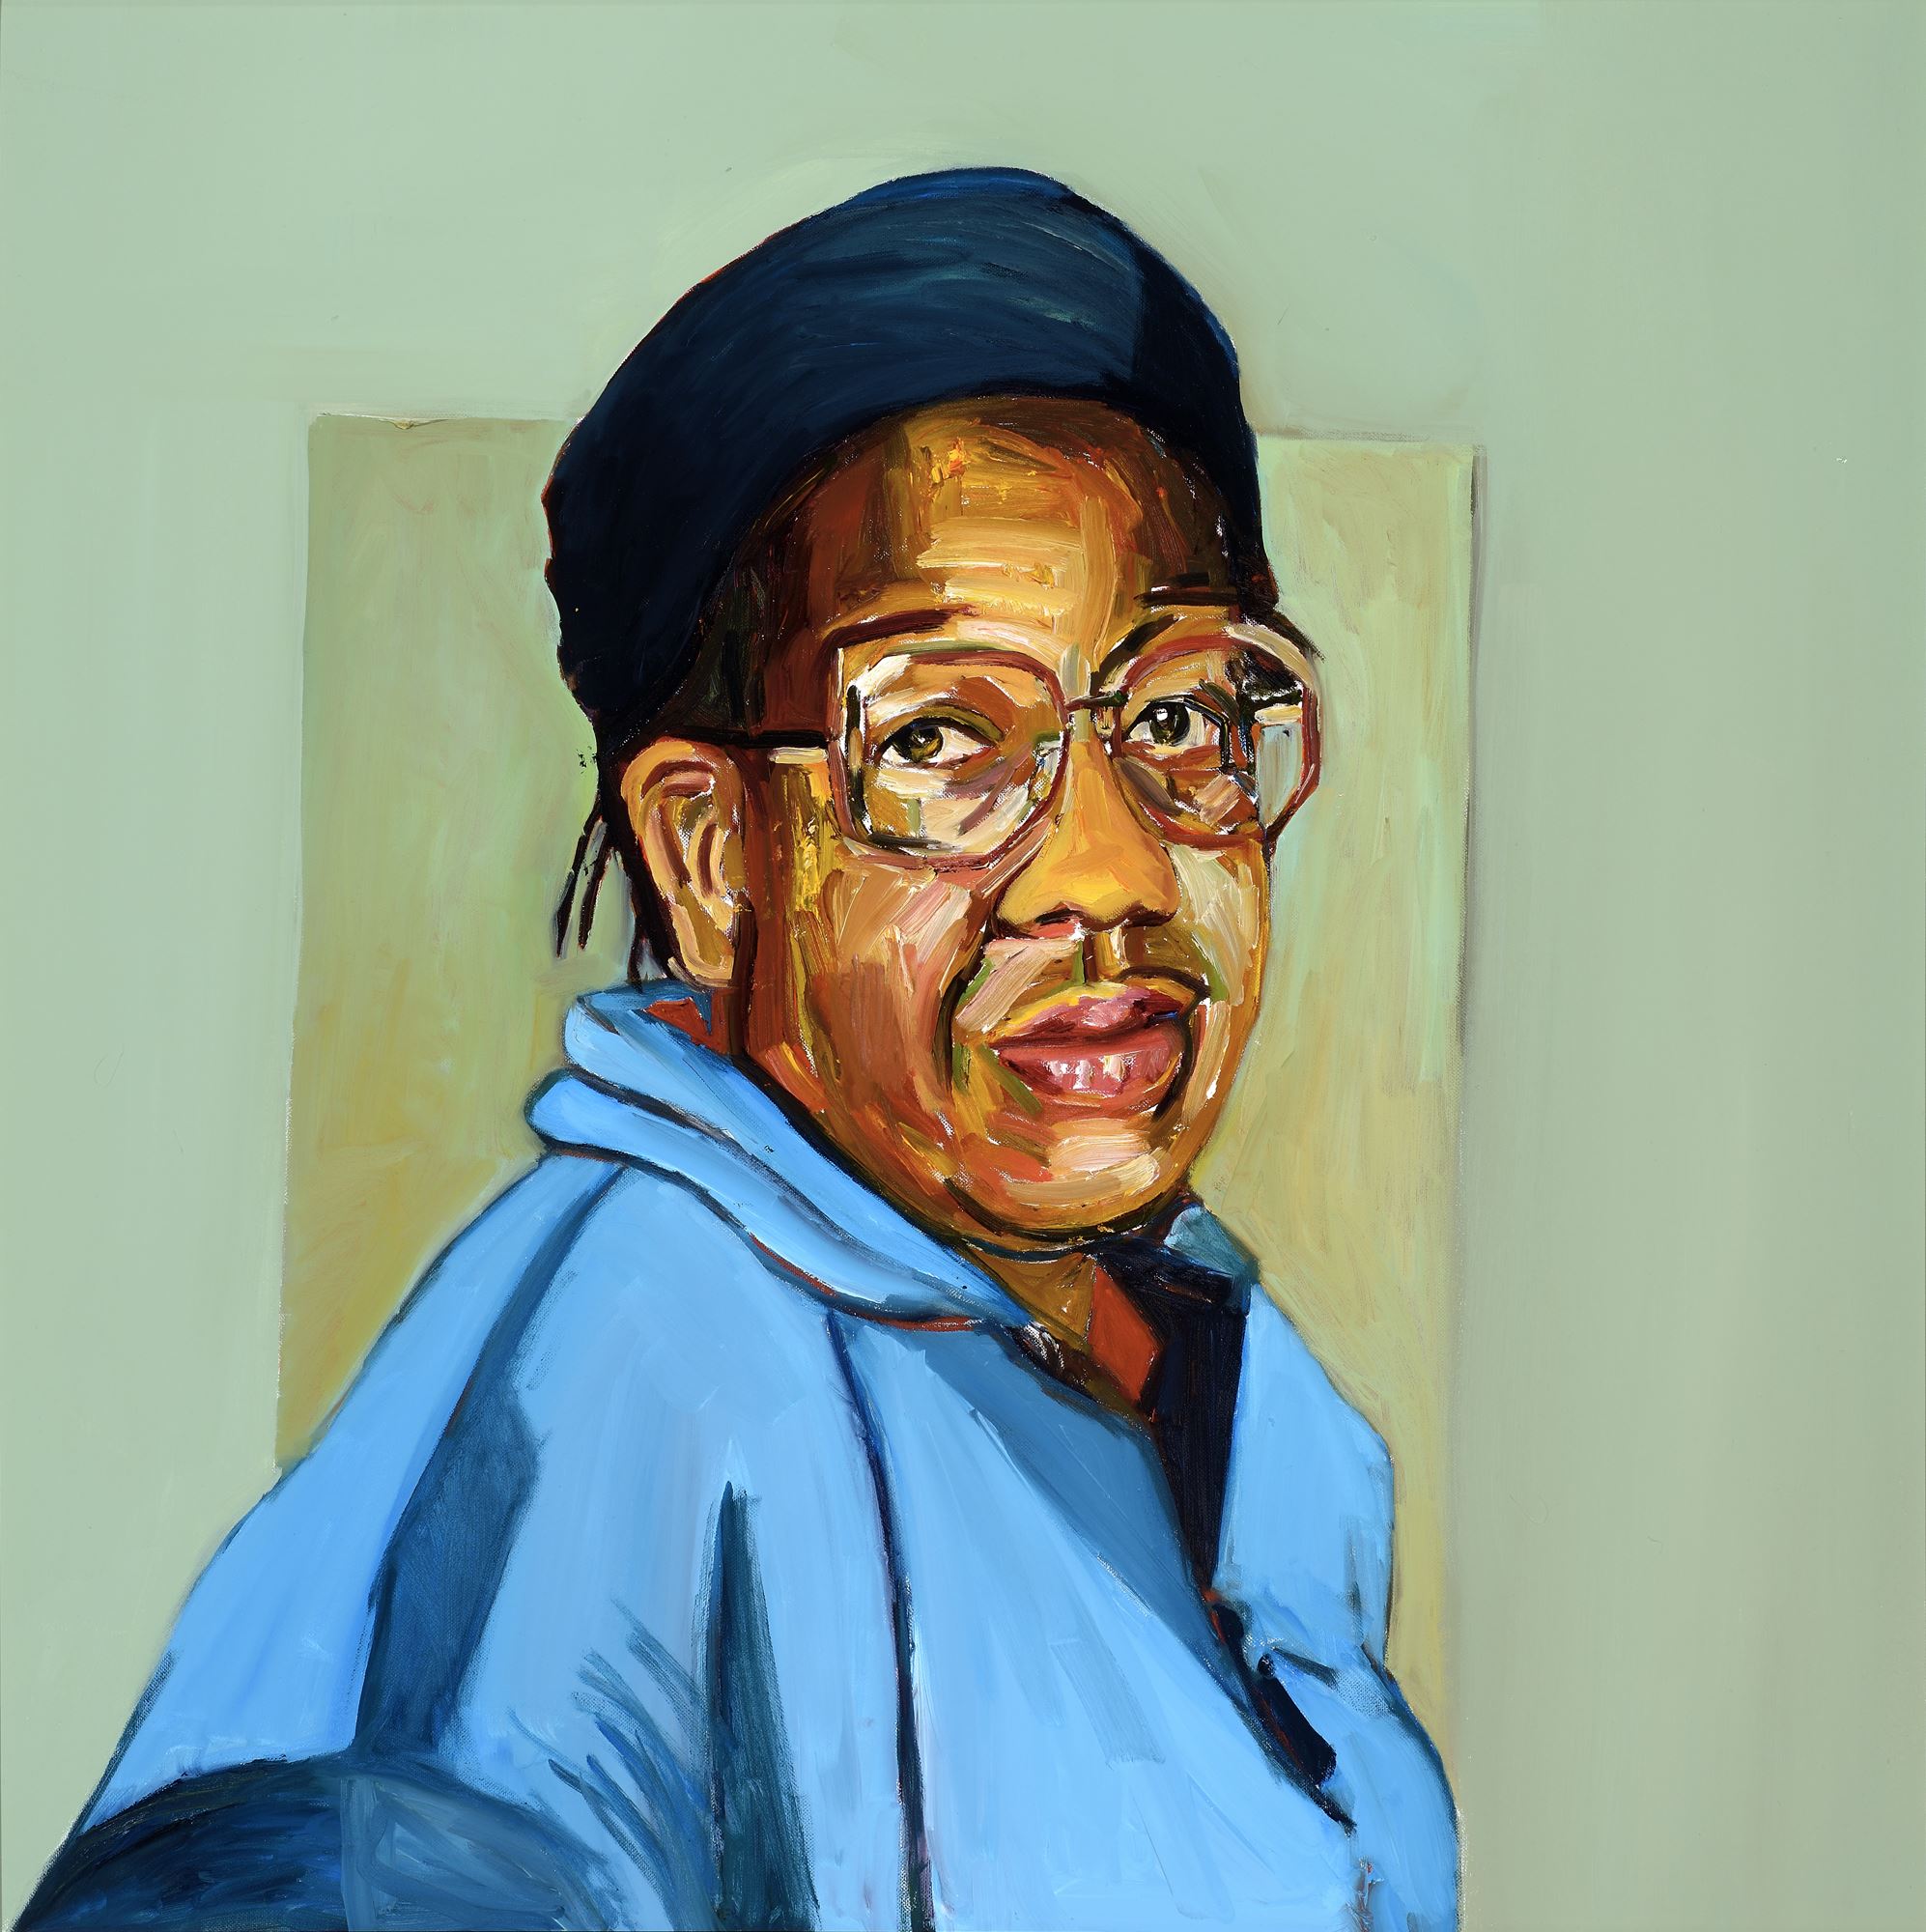
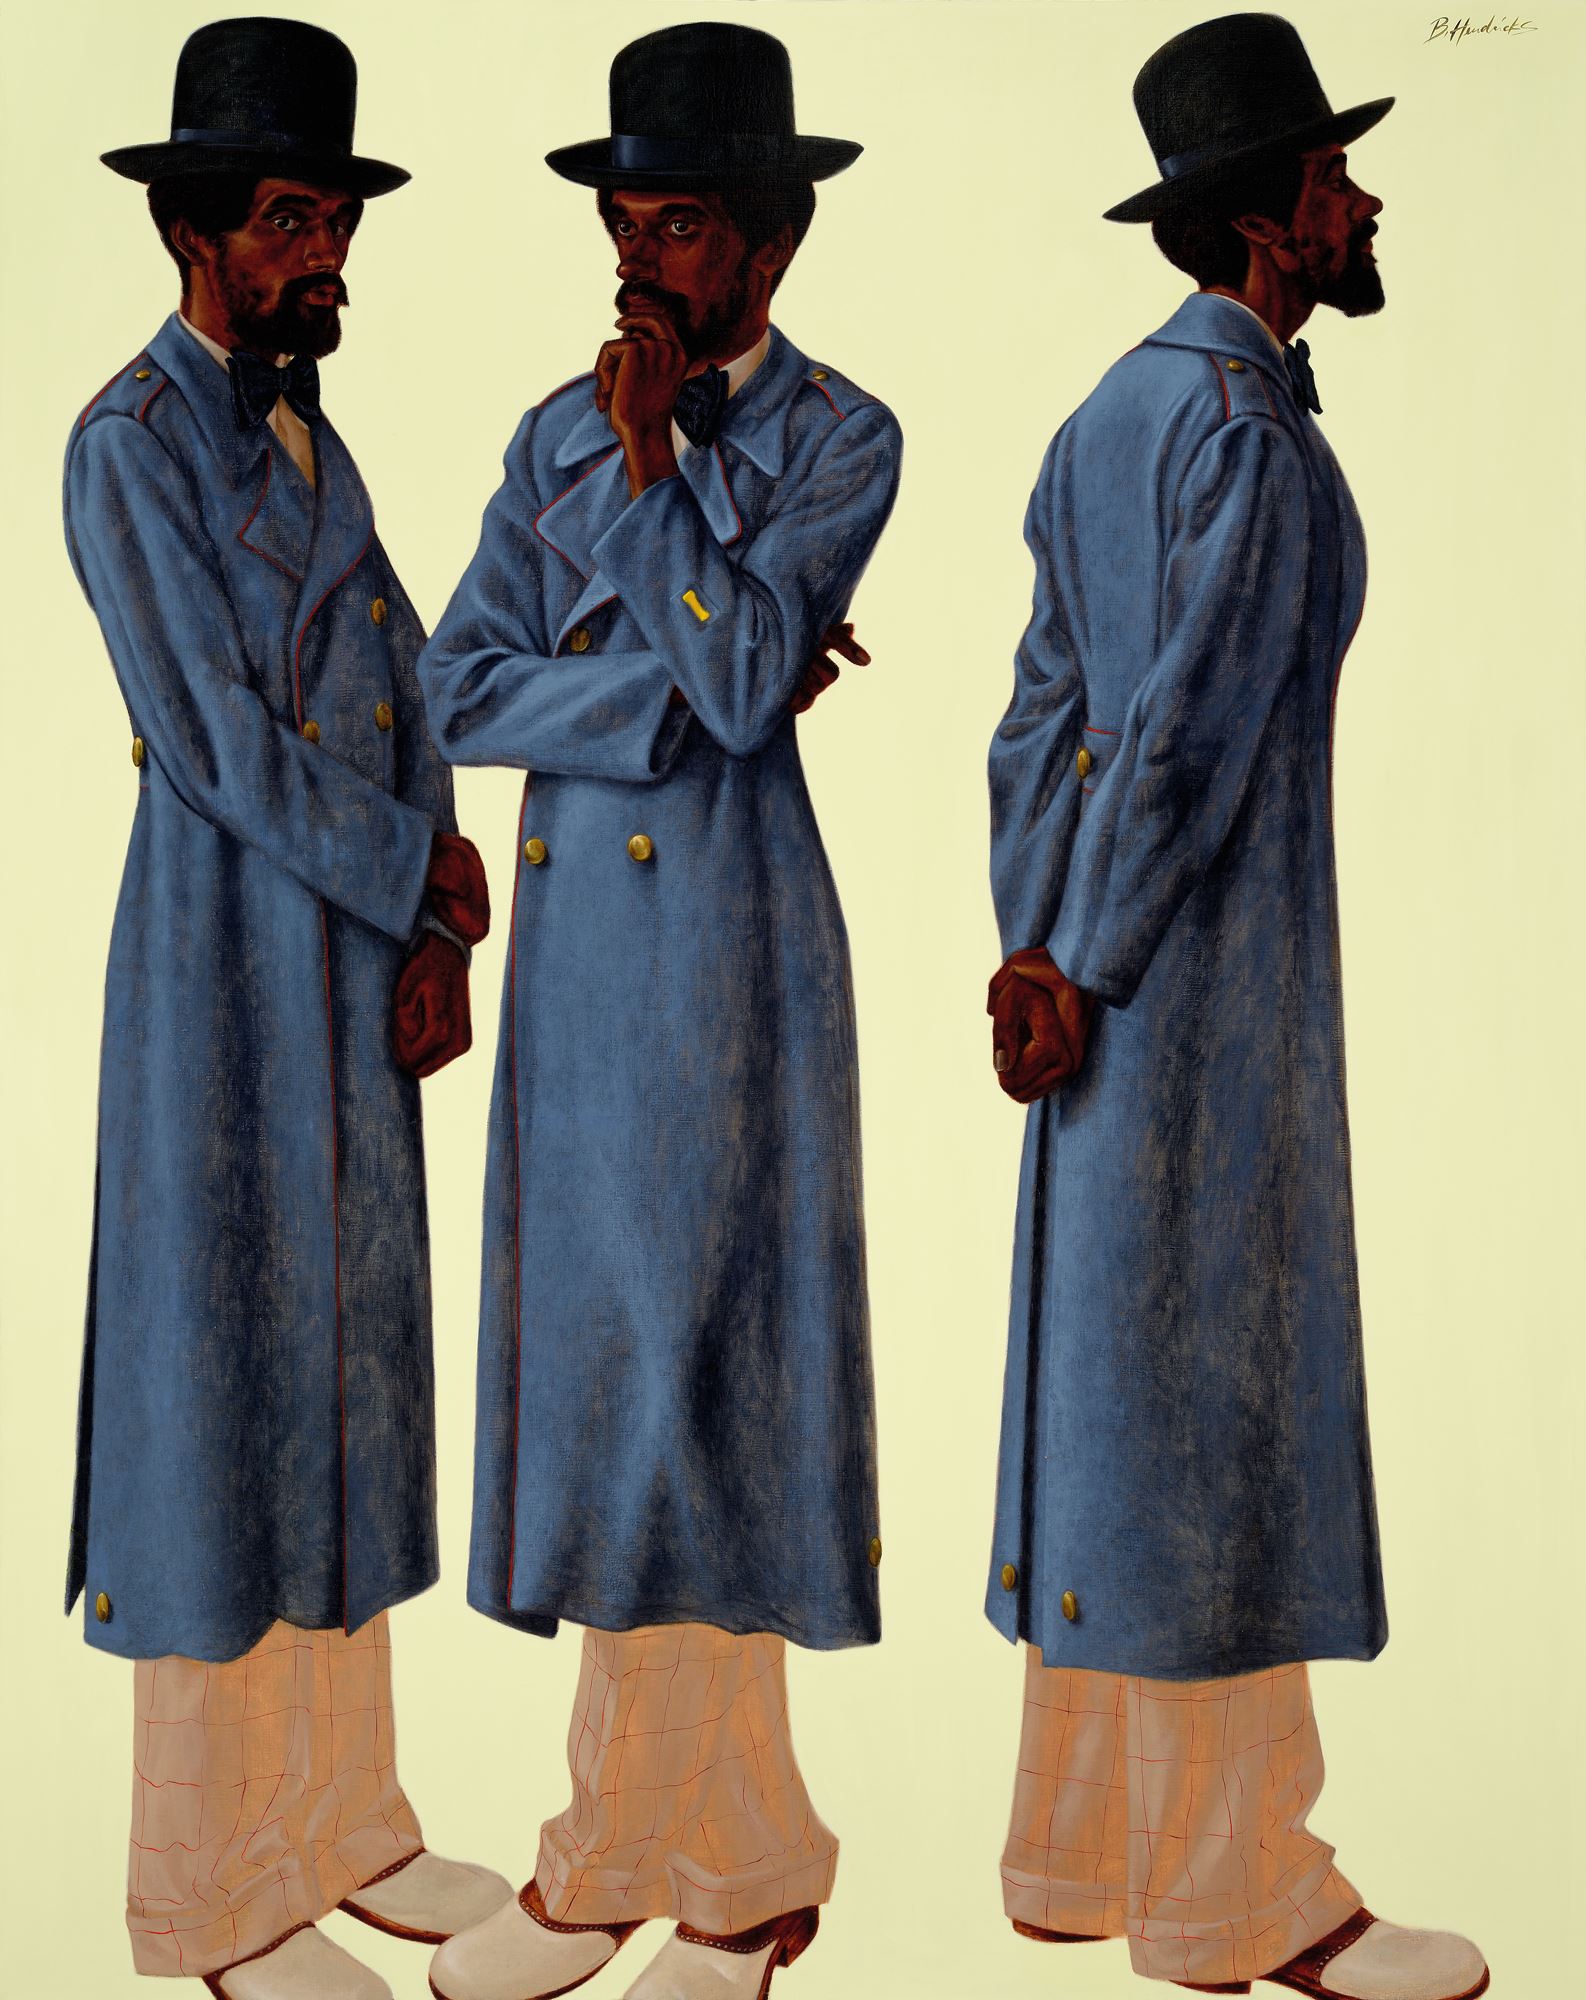
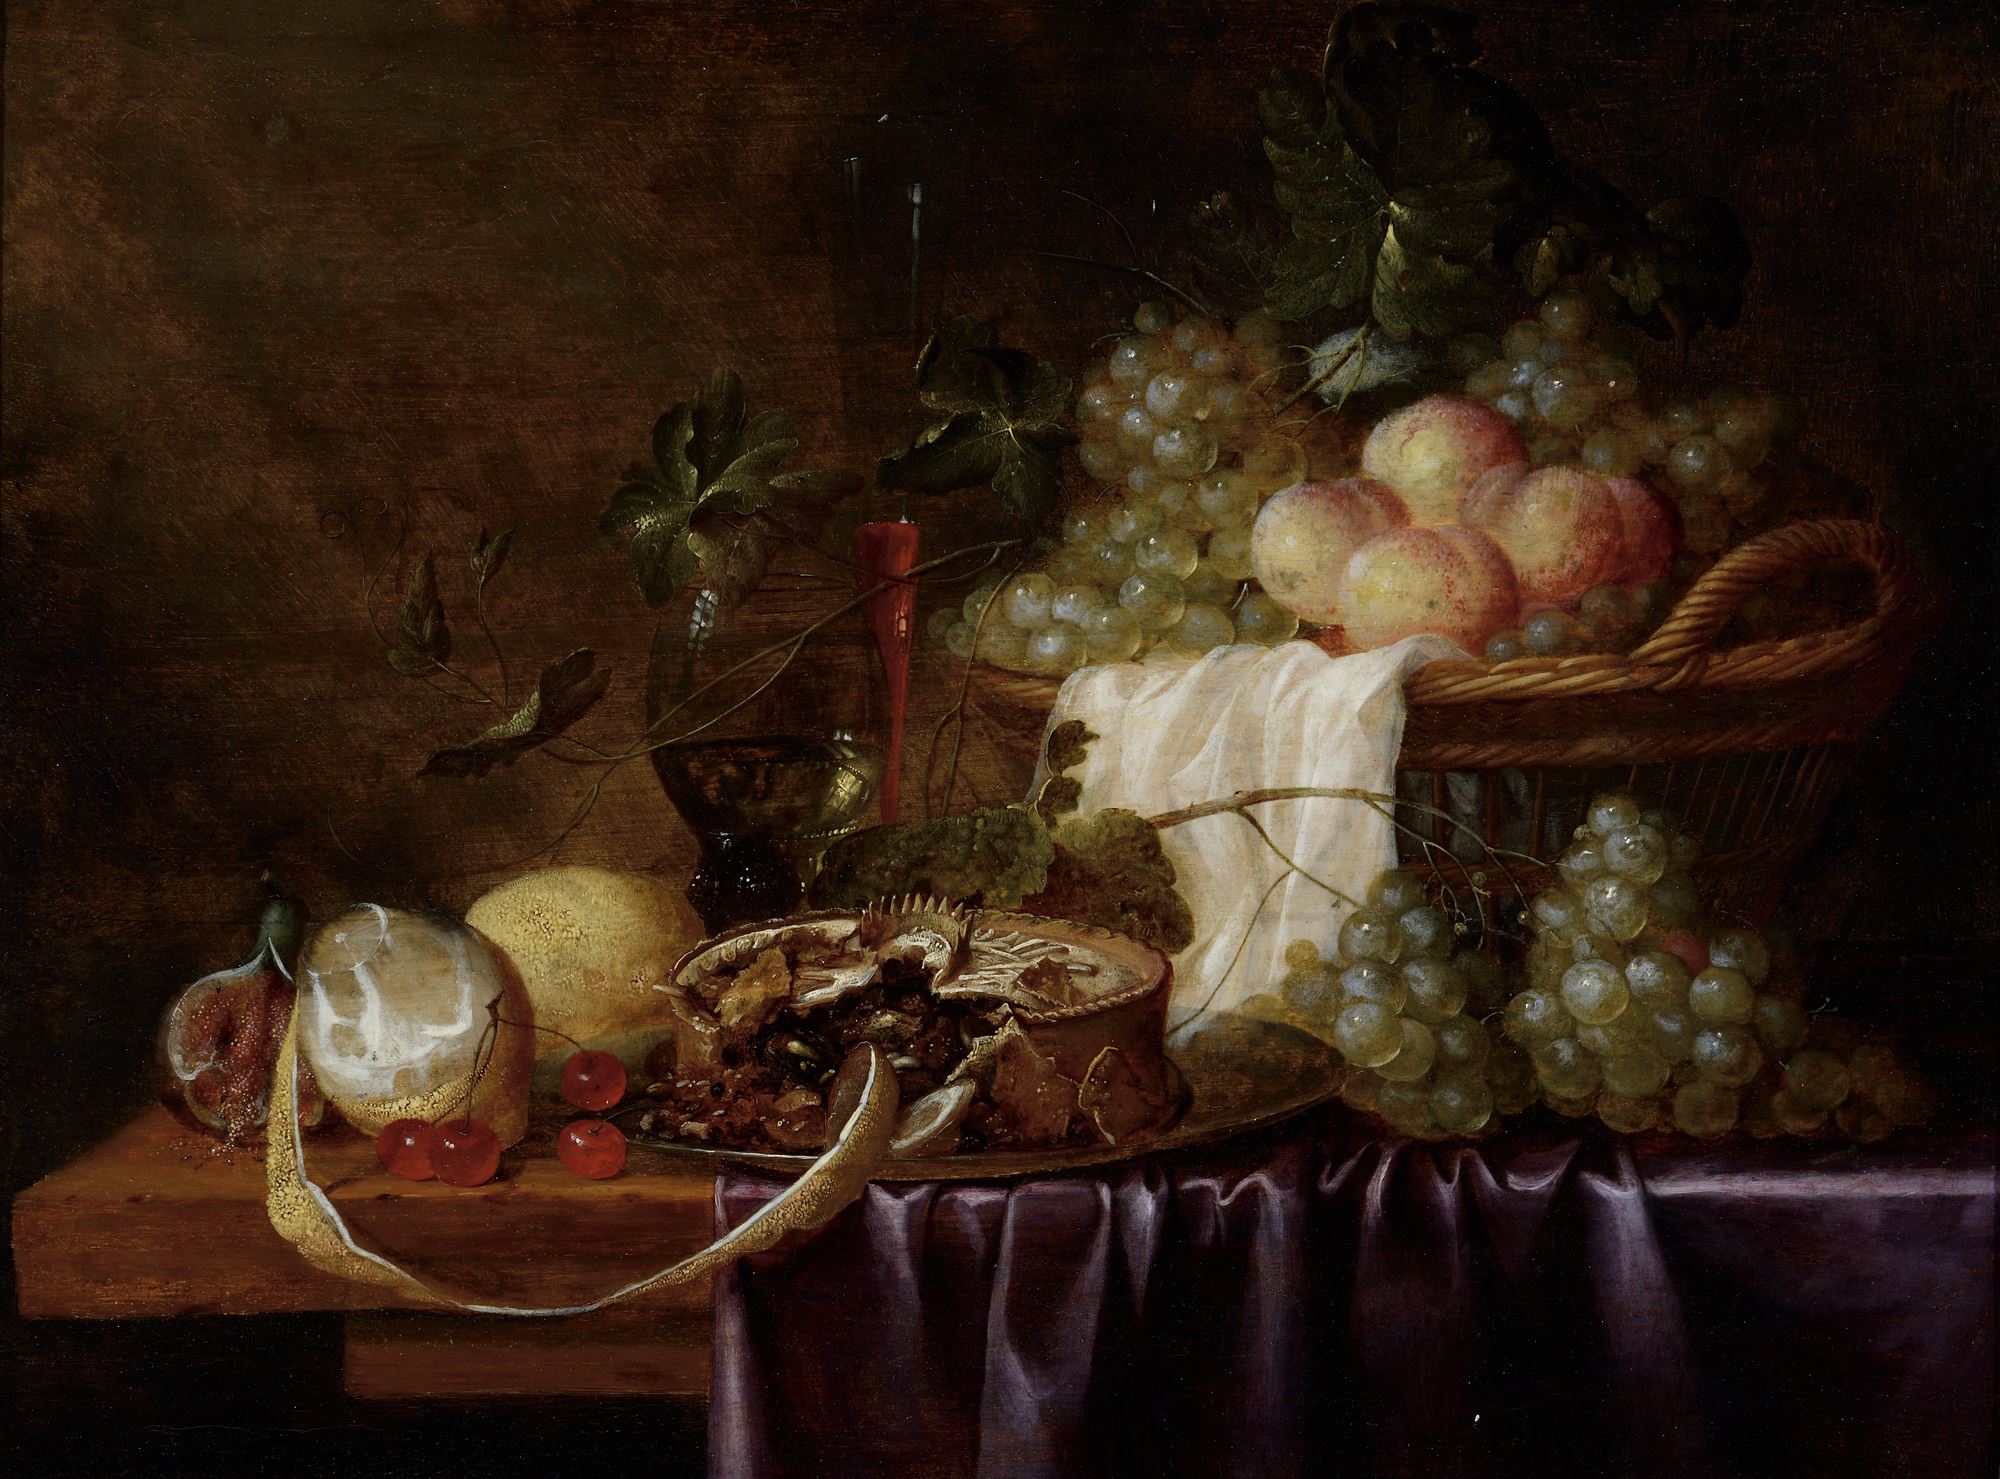
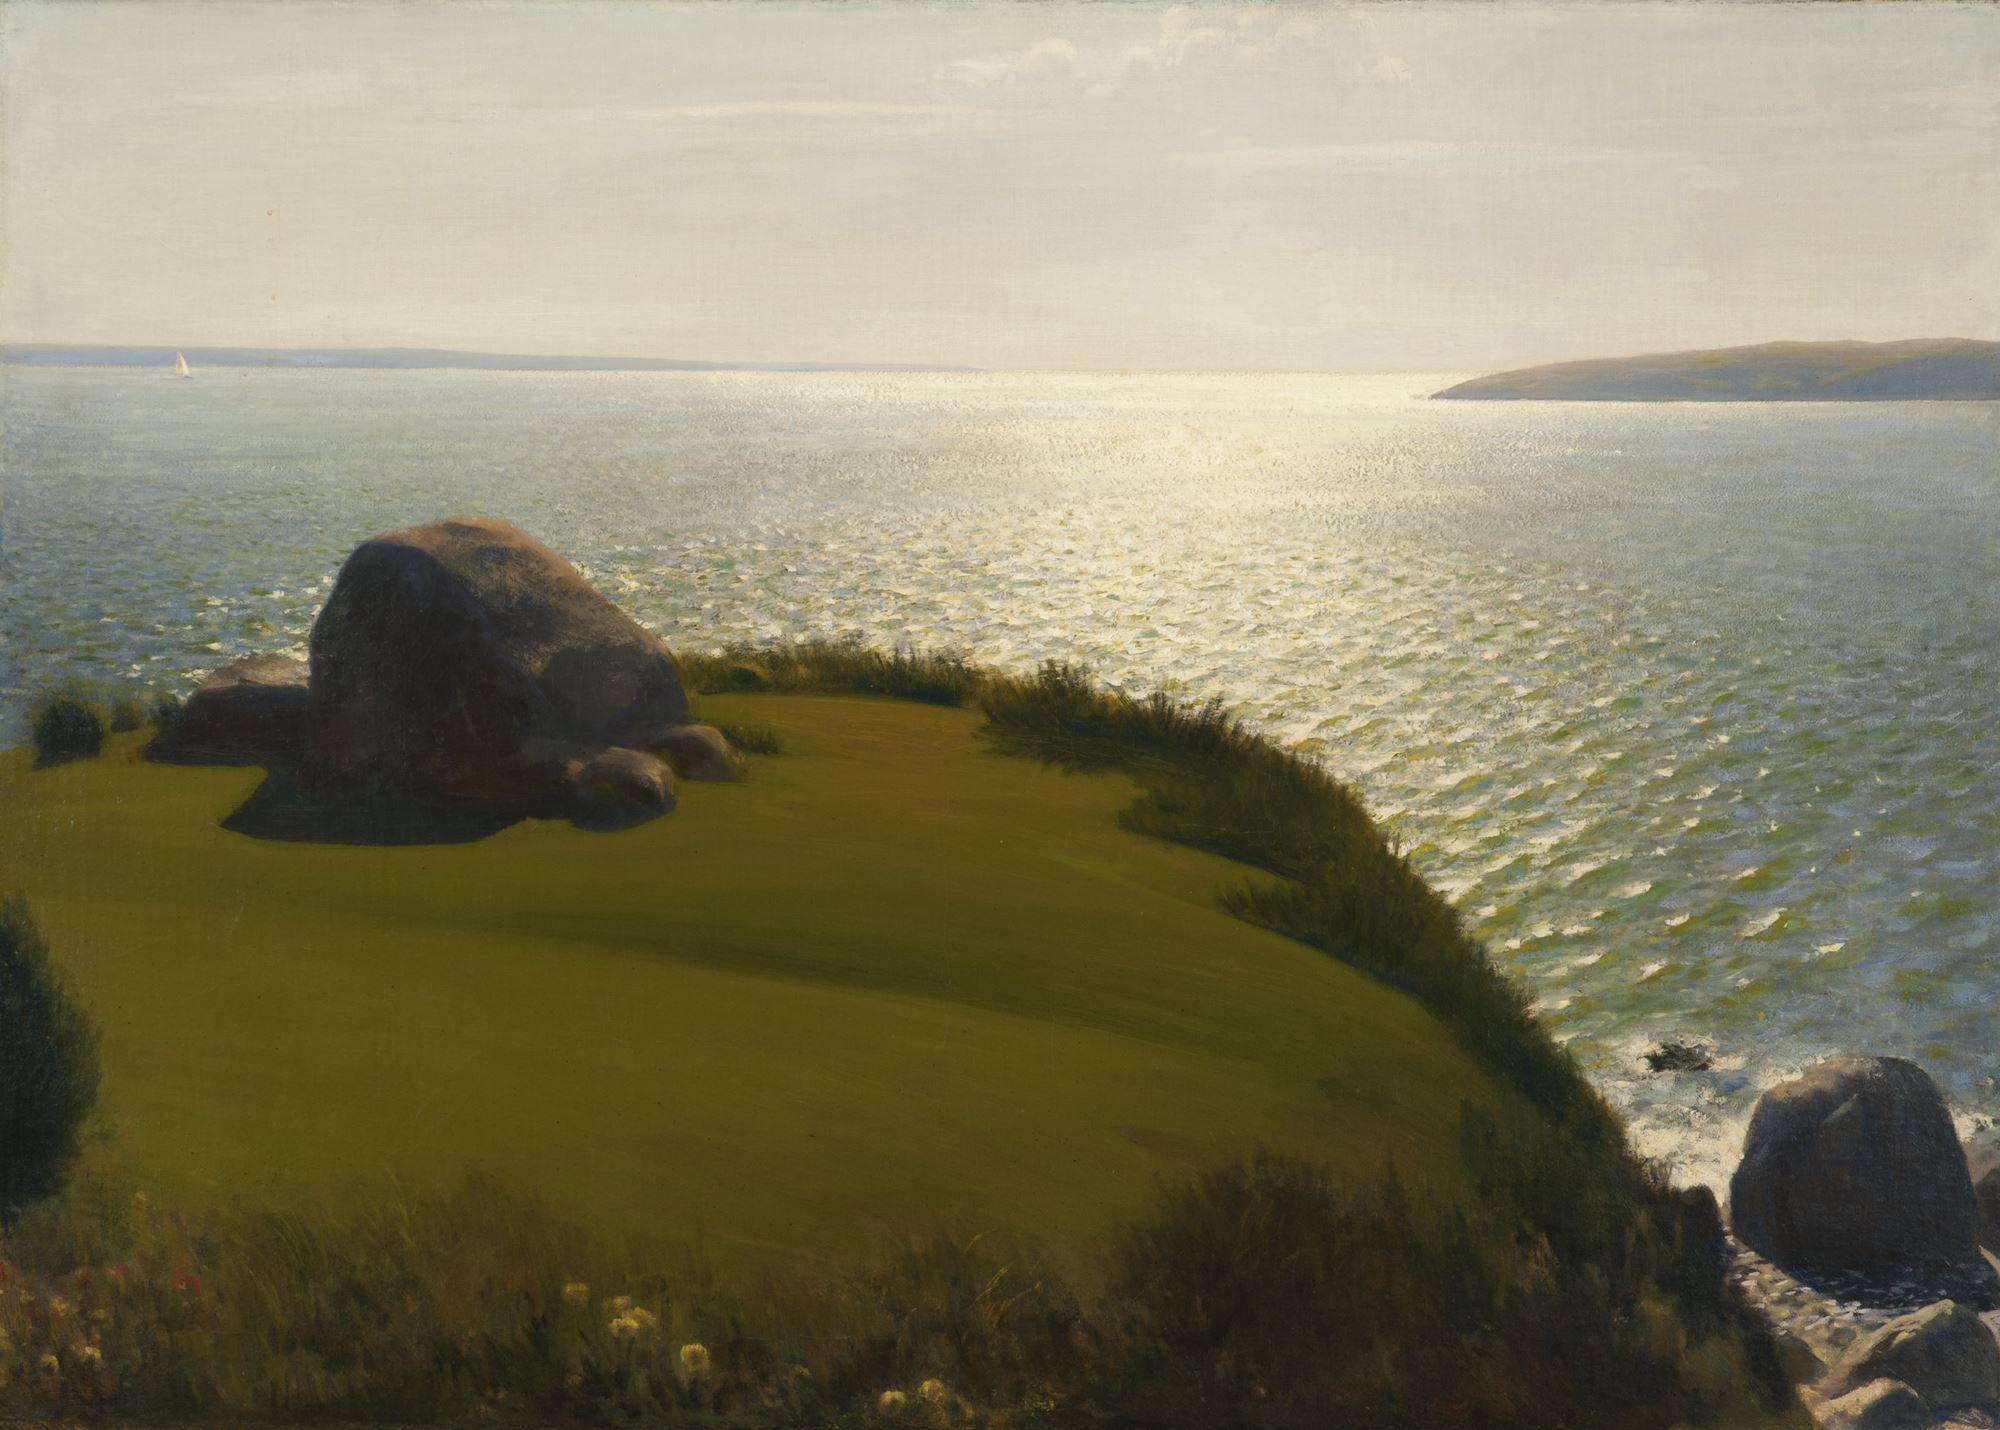
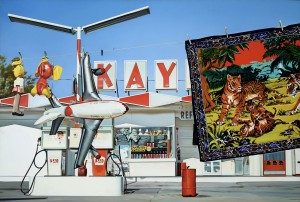
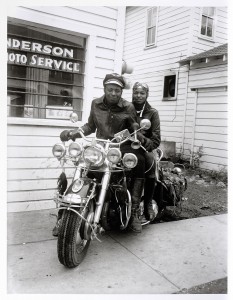
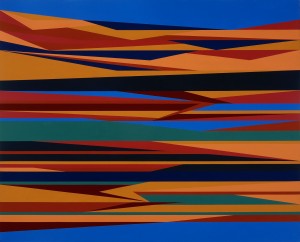
Display on the board all of the works of art you have viewed through the year. Introduce the lesson with a couple basic questions:
- How many of you recognize these works of art?
- Does anybody remember any of the titles or artists?
“Today you are going to work with your table-mates to sort these works! We have done some sorting in math and science. We’ve sorted shapes and we’ve sorted pebbles, sand and silt.”
As a group, brainstorm a few possible ways to sort the artworks. Write down sorting criteria on chart paper or the board. Some possibilities are color, line, texture, genre (e.g., landscape, still life), or setting (e.g., indoor/outdoor, urban/rural).
Give each table a set of small-sized color prints of the artworks to sort, and assign each table a different sorting criterion. (For example, table 1 will sort by texture, table 2 by color, table 3 by shape, table 4 by media, table 5 by subject, table 6 by culture, and so on.) Write down table assignments, either on the board or on each piece of butcher/chart paper.
Explain to students that this is a group project, and each person is going to get a few pieces to be responsible for. Have students talk to each other to sort the artworks, respecting and sharing the materials and each others’ ideas. Remind the students that they have learned throughout the year that sometimes, especially in art, there are many answers to a problem or question. Circulate to help students group their images.
Once the groups are finished sorting, have the students glue down the images, label and circle the groups they have made with a crayon. Some pieces may fit into more than one category, so some circles will overlap (like a Venn Diagram).
Day 2
Give students 10 minutes to finish sorting, gluing, labeling and circling their artworks.
“How many of you had a hard time deciding or needed to talk it over with a friend?”
Gather the class together. “In a minute you’ll return to your groups and practice presenting your whole sheet to the class. I want each person to talk. One person will introduce your work, then three classmates will talk about your groupings, and one more person will conclude. Then we will open the floor to questions from the class!”
Have students practice and then share their presentations.
Day 3
Continue presentations and Q&A.
Day 4
Have students conduct a new sort with different, and possibly more sophisticated, criteria, i.e., culture, time period, location, mood, theme. Let students choose or invent their own criteria and group themselves accordingly, no more than 6 and no fewer than 2 in a group.
Day 5
Have students present their new groupings.